Beauty has a price. Luckily, they’re often posted online. With similar products across the board at a similar price, consumers can be confused about what to get. The kicker? Product photos!
According to statistics, 75% of online shoppers rely on product photos when deciding what to buy. If you want to elevate your beauty product photography and beat the competition, you’re in the right place!
In this article, we’ll be covering:
What makes beauty products photography great.
Best practices for 2025.
Tips on how to streamline your editing workflow.
There are an infinite number of ways to take product photos for beauty brands. But if you want to compete, you need to consider product staging, backdrops, and these essentials:
Get the lighting right: Lighting defines perception. Always diffuse lights that are too bright and angle the light so it hits the product curves perfectly.
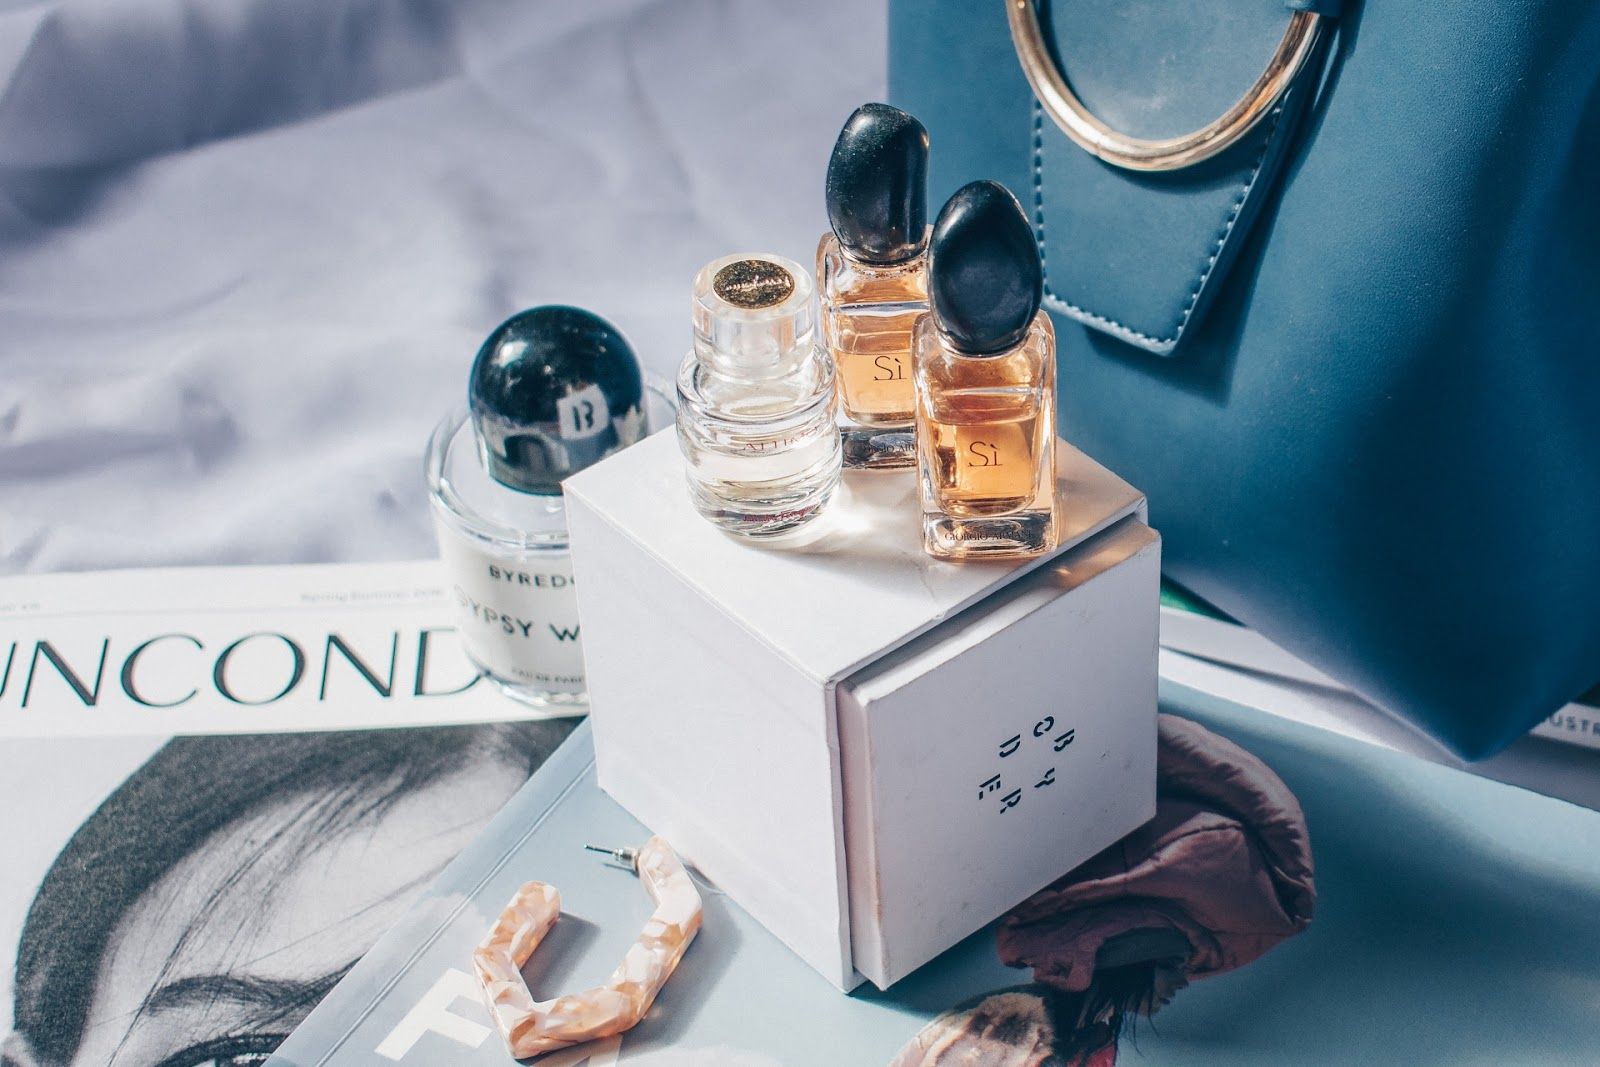
Mix and match products: Focus on a single subject, but don't be afraid to show sets. Make-up kits often look best when brushes, lipsticks, and palettes are grouped together.
Polish products: Clean your products! Fingerprints and dust show up easily on glossy beauty packaging. Minimal dust means minimal editing later.
Follow the aesthetic: Be consistent with your theme. There should be harmony in the lighting, color schemes, and props used across the entire collection.
Shoot at the highest resolution: Beauty products are small but carry intricate designs. Capture these details at high resolution so you have more flexibility during the editing phase.
Your USP (Unique Selling Position) is your brand’s soul. If your brand is known for organic ingredients, adding raw elements like aloe vera leaves or coconut shells as props helps customers "feel" the product's origin.
22% of customers return products that don’t look like the image. It’s your job to present an accurate representation. One of the best ways to ensure your customers see every detail is by using a professional
Experiment with the strength of the light and the distance from your product. If you don’t have professional equipment, natural light is your best friend—just diffuse it with a white curtain or a piece of printer paper to avoid harsh shadows.
Props should make your subject stand out, not distract. For a summer sunscreen, adding sunglasses or a few water droplets creates an instant "vacation vibe" that resonates with the buyer.
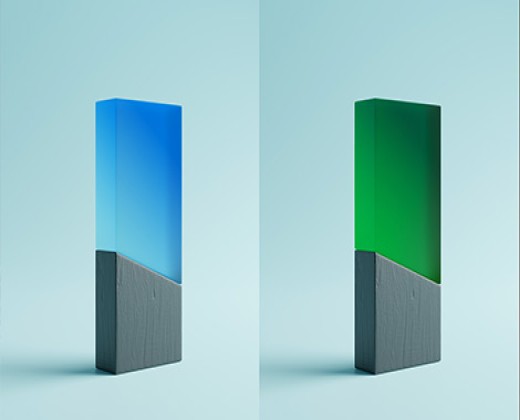
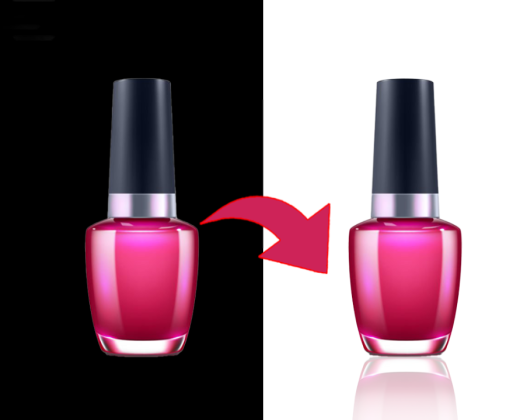
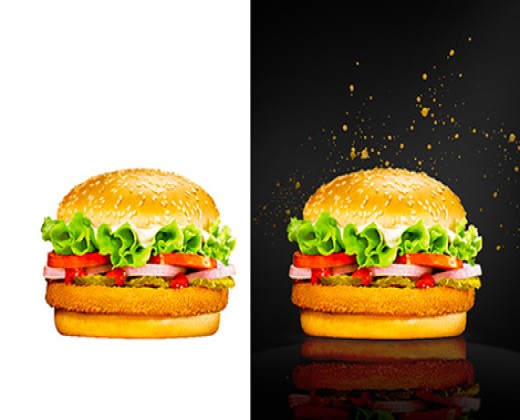
Beauty products often carry a sense of luxury. Use textural backgrounds like marble or silk to give depth. If you need to swap a background quickly, PicScientist.com can handle it in seconds.
Packshots: Photographed against plain white backgrounds (perfect for Amazon).
Flat Lays: Taken from a bird’s eye view—great for social media.
Lifestyle: Showcases the product being used in real life, often with a model.
Learn color theory! Use the color wheel to find complementary colors (opposites) or analogous colors (neighbors) to make your packaging pop against the background.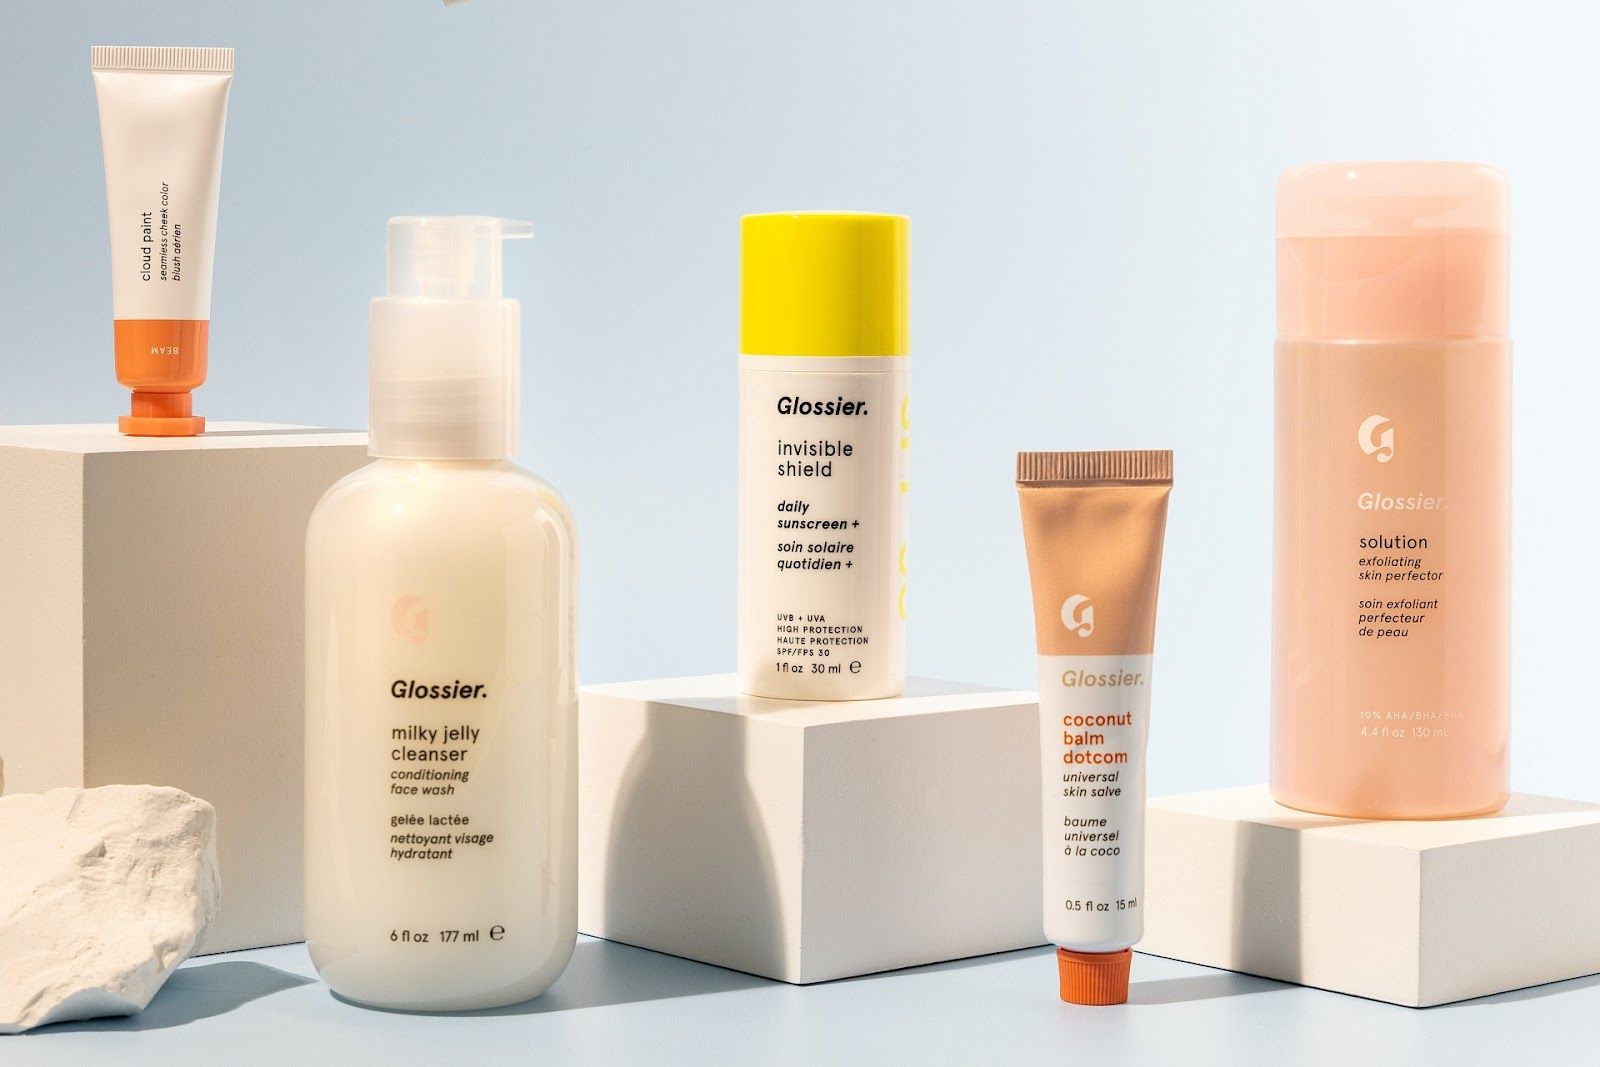
Editing is the most important step. No matter how good the raw image is, professional editing elevates the final result. Beginners often find software like Lightroom daunting, but the PicScientist Site Spinner tools are perfect for any skill level.
One of the hardest things to do is manual object removal. With our AI-powered tool, you can clean up pictures and remove unwanted dust or reflections automatically.
Highlight details that make the product unique.
Be consistent with your lighting angles.
Experiment with different textures and backgrounds.
Always edit to enhance the clarity and color of your shots.
What are you waiting for? Take your best shots and perfect them with PicScientist.com today!